I’ve written about about sources for free photos. You’ve gotten this far, now it’s time to learn how to correctly attribute all of those great images! Since there doesn’t seem to be a consensus, I’ll write about how I attribute photographs in the presentations I create for myself and my clients.
One caveat: I am not a lawyer. The information in this article is meant to set you in the right direction to provide attributions for copyrighted works. This is not rock-solid legal advice, it’s the methodology I follow. So if you’re in doubt, consult an attorney.
How to attribute Creative Commons images
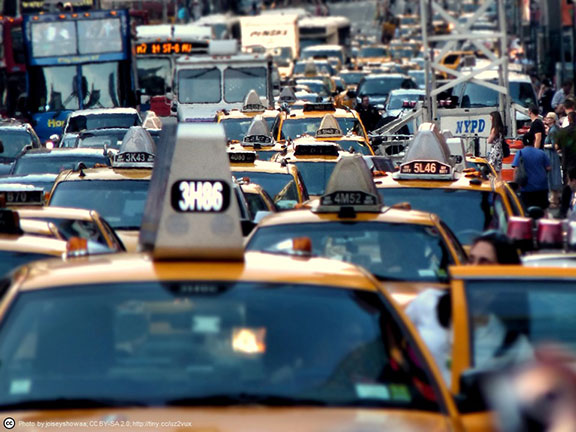
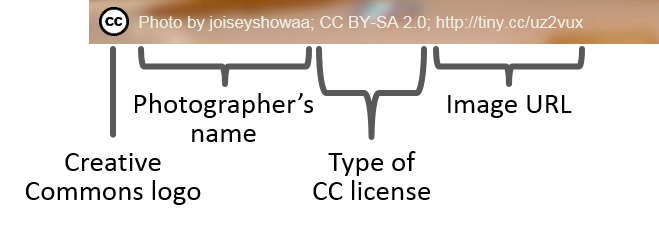
Pictured above is a slide that has a Creative Commons attribution in the lower left-hand corner. Here it is again, enlarged:
You don’t really need the Creative Commons logo, but personally I think it’s a nice touch that sends the right message. Download free Creative Commons logos here.
How to attribute other free images
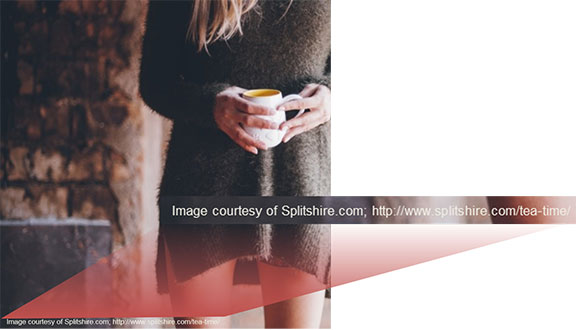
There are other sites, such as Freedigitalphotos.net or Openphoto.net, that offer up free photos if you attribute them. Here’s how I format this kind of attribution:
So, it’s “Image courtesy of [website or photographer’s name]; [URL of image].
How to attribute images in the public domain
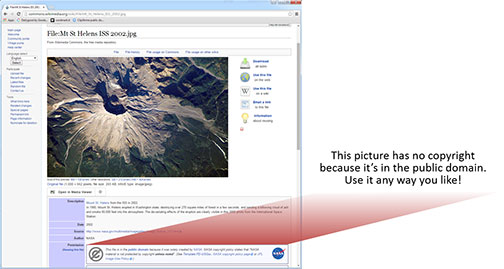
If all this typing makes your hands tired, look for images in the public domain because these can be used without attribution in any way you want, commercially or otherwise! Yay, free images! Here’s an example of an image on Wikimedia Commons that’s in the public domain.
The Wild, Wild West
It’s really the Wild West out there on the Internet—I haven’t seen any definitive guidelines on how to format attributions and the rules seem to change constantly. So I’ve developed the formats that work best for me and I hope that this post has made it easier for you to correctly attribute your free images. The important thing is to give artists the credit they’re due for providing us with free photographs to use in our presentations.
